SHORT COURSE
This bite-sized short course is designed for classroom teachers, teaching assistants, and educators who want to create a more inclusive learning environment. It explores practical, everyday approaches that help remove barriers to learning, enabling students with disabilities to participate, engage, and thrive alongside their peers.
PART 1/7
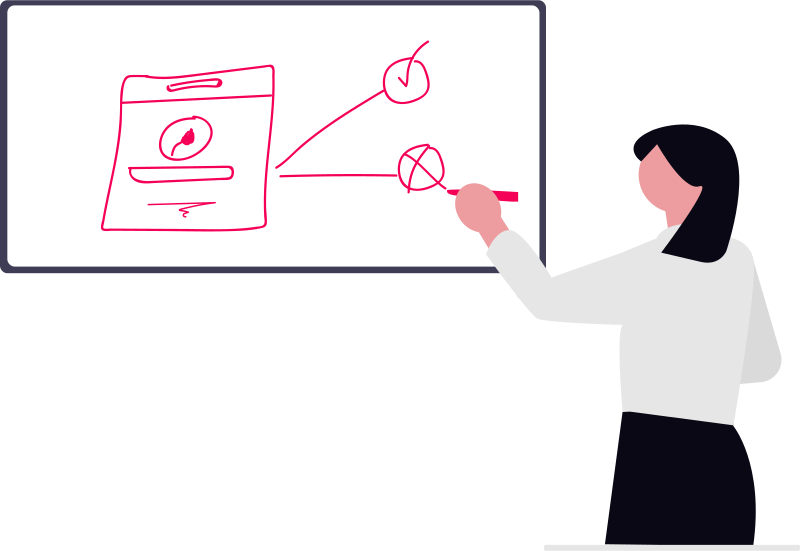
Teachers naturally use phrases such as "look at this", "over here", or "if we move to the next slide". While these seem harmless, they can create barriers for students with sight loss or those accessing lesson content through screen mirroring or assistive technology. Instead, refer to specific slide numbers, page numbers, headings, diagrams, or sections of the whiteboard. Describe what you are pointing to rather than relying on visual cues alone. If you add notes or annotations to the whiteboard during the lesson, read them aloud, as handwritten additions may not be visible on a student's mirrored device or accessible through assistive technology.
During a lesson you move to a PowerPoint slide containing a diagram and begin drawing additional notes on the interactive whiteboard. Which approach is the most accessible?
PART 2/7
Lighting conditions can have a significant impact on how students with sight loss access classroom content. Glare from windows, overhead lighting and reflections on whiteboards or device screens can reduce visibility and make it more difficult to read text or follow demonstrations. Where possible, position students to minimise glare, ensure clear sightlines to teaching materials, and adjust blinds or lighting if needed. If a student is using a mirrored device or assistive technology at their desk, make sure it is positioned at a comfortable viewing angle to reduce eye strain and support sustained learning throughout the lesson.
You are organizing your classroom seating plan for a module that relies heavily on the main interactive whiteboard and student tablets. What is the best environmental consideration?
PART 3/7
Providing lesson materials in an accessible digital format before a session gives all students the opportunity to prepare and engage with the content at their own pace. It allows students to review key concepts, become familiar with new terminology, and arrive at the lesson better prepared to participate. For many students, including those who use assistive technology or have additional learning needs, this extra preparation can significantly improve confidence, understanding and engagement. Sharing materials in advance also creates an important opportunity for students to identify any accessibility barriers before the lesson begins. If they encounter problems accessing the content, they have time to notify the teacher or a member of the support team so that any necessary adjustments can be made. Addressing these issues ahead of time helps ensure students can fully participate in the lesson from the outset, rather than losing valuable learning time resolving accessibility problems during the session.
You have a printed worksheet for today's activity. How should you distribute it to ensure all students, including those with disabilities or additional learning needs, can access it fully?
PART 4/7
Not all digital documents are equally accessible. While many screen readers can use Optical Character Recognition (OCR) to interpret scanned or image-based PDFs, this process can be slower, less accurate and may produce poor results, particularly if the scan quality is low or the document contains complex layouts. Wherever possible, avoid relying on OCR by creating documents that contain real, selectable text. The best approach is to create your document in its original format, such as Microsoft Word, using built-in accessibility features and structural headings (for example, Heading 1 and Heading 2), before exporting it as a PDF. This preserves the document's text, structure and reading order, allowing screen readers and other assistive technologies to navigate the content accurately and efficiently. Avoid creating PDFs by scanning printed documents unless there is no alternative.
You need to provide students with a chapter from a printed textbook in a digital format. What is the most accessible approach?
PART 5/7
Live experiments and demonstrations are powerful ways to bring learning to life, but they must be accessible to all students in the room. Some students, including those with additional needs, may find it difficult to follow fast-moving or visually complex demonstrations if they are not clearly supported through explanation. When carrying out a live experiment, describe each step as it happens in a clear and structured way. Explain what materials you are using, what you are doing with them, and what changes are occurring at each stage. For example, if you are mixing substances, heating materials, or assembling equipment, clearly state each action and the expected outcome so students can follow the process in real time, even if they cannot see every detail. It can also be helpful to introduce key equipment or materials before the demonstration begins, giving students the opportunity to become familiar with what will be used. This early exposure helps build context and makes it easier to understand what is happening during the experiment itself. During the demonstration, continue to reference each item by name and purpose, and highlight any important changes or results as they occur. By combining clear verbal explanation with structured pacing and pre-exposure to materials, live experiments become more inclusive and easier for all students to follow and engage with.
You are demonstrating a science experiment using a Bunsen burner and a flame. What is the most accessible way to support students with additional needs during the demonstration?
PART 6/7
Accessibility is not only the responsibility of the teacher; it is a shared practice across the classroom. During group activities, students can unintentionally exclude their peers by relying on vague gestures, silent note-taking, or assumptions that everyone can follow what is being discussed. Teachers should actively support students in developing inclusive collaboration habits. This includes encouraging them to describe what they are referring to rather than pointing, read aloud any shared notes or written ideas, and clearly explain changes in direction during discussion. It is also important to ensure that every group member is actively included, given opportunities to contribute, and supported to follow the conversation as it develops.
During a group activity, you notice some students are using gestures and writing notes without speaking them aloud, which may exclude a student with additional needs. What is the most inclusive approach?
PART 7/7
Video and audio content can greatly enhance learning by providing context, engagement, and real-world examples. However, they can also create barriers if accessible alternatives are not considered. Before using any multimedia in the classroom, check whether audio description is available, as this provides additional narration that explains important visual information not conveyed through dialogue. Where audio description is not available, consider providing a clear transcript of the content in advance or alongside playback so students can follow along in a way that suits their needs. Always ensure that videos include accurate captions to support students who are deaf or hard of hearing, and check that audio quality is clear and free from distortion or background noise. When presenting video content, it is also helpful to verbally describe any important on-screen actions, context, or visual details that are not explained in the dialogue, so that all students can fully understand the material being presented.
You plan to show a 5-minute educational video clip during class. Which preparation step makes this media choice truly inclusive?
You've got this! Correct and incorrect answers will be indicated for each question, so take a moment to go back and check them. Your score and any questions you missed are shown below. If you didn't get top marks, don't worry—you're already a winner for taking the time to give it a go. Every question is an opportunity to learn. If you'd like to build your knowledge further or need more advanced guidance, we'd love to hear from you.
Always describe what you’re referring to explicitly, using slide numbers or clear references instead of vague pointing language.
Position students and manage lighting to minimise glare and ensure clear visibility of all teaching materials.
Share lesson content digitally in advance so students can access and prepare in a way that suits their needs.
Create documents with real, structured text (not scanned images) so screen readers can navigate them properly.
Narrate each step clearly in real time so students can follow the process without relying on sight alone.
Encourage students to verbalise ideas and read shared notes aloud so everyone can participate equally.
Ensure captions and clear audio are provided, and verbally describe important visual information.